090 / 100 · Breads, Spreads, and Little Bites
Pear and Brie Puff Pastry Squares
12 puff-pastry squares Active 20 min Total 50 min
Thin pear slices and soft Brie turn a sheet of puff pastry into a small, elegant snack with very little assembly. The pastry edge rises around the filling while the cheese melts beneath the fruit. Choose a ripe but firm pear that can be sliced without collapsing, and keep the filling inside a narrow scored border. A light brush of honey goes on after baking so the fruit shines without a burnt sugar edge. These squares are most appealing warm, when the Brie is still soft and the pastry is crisp.
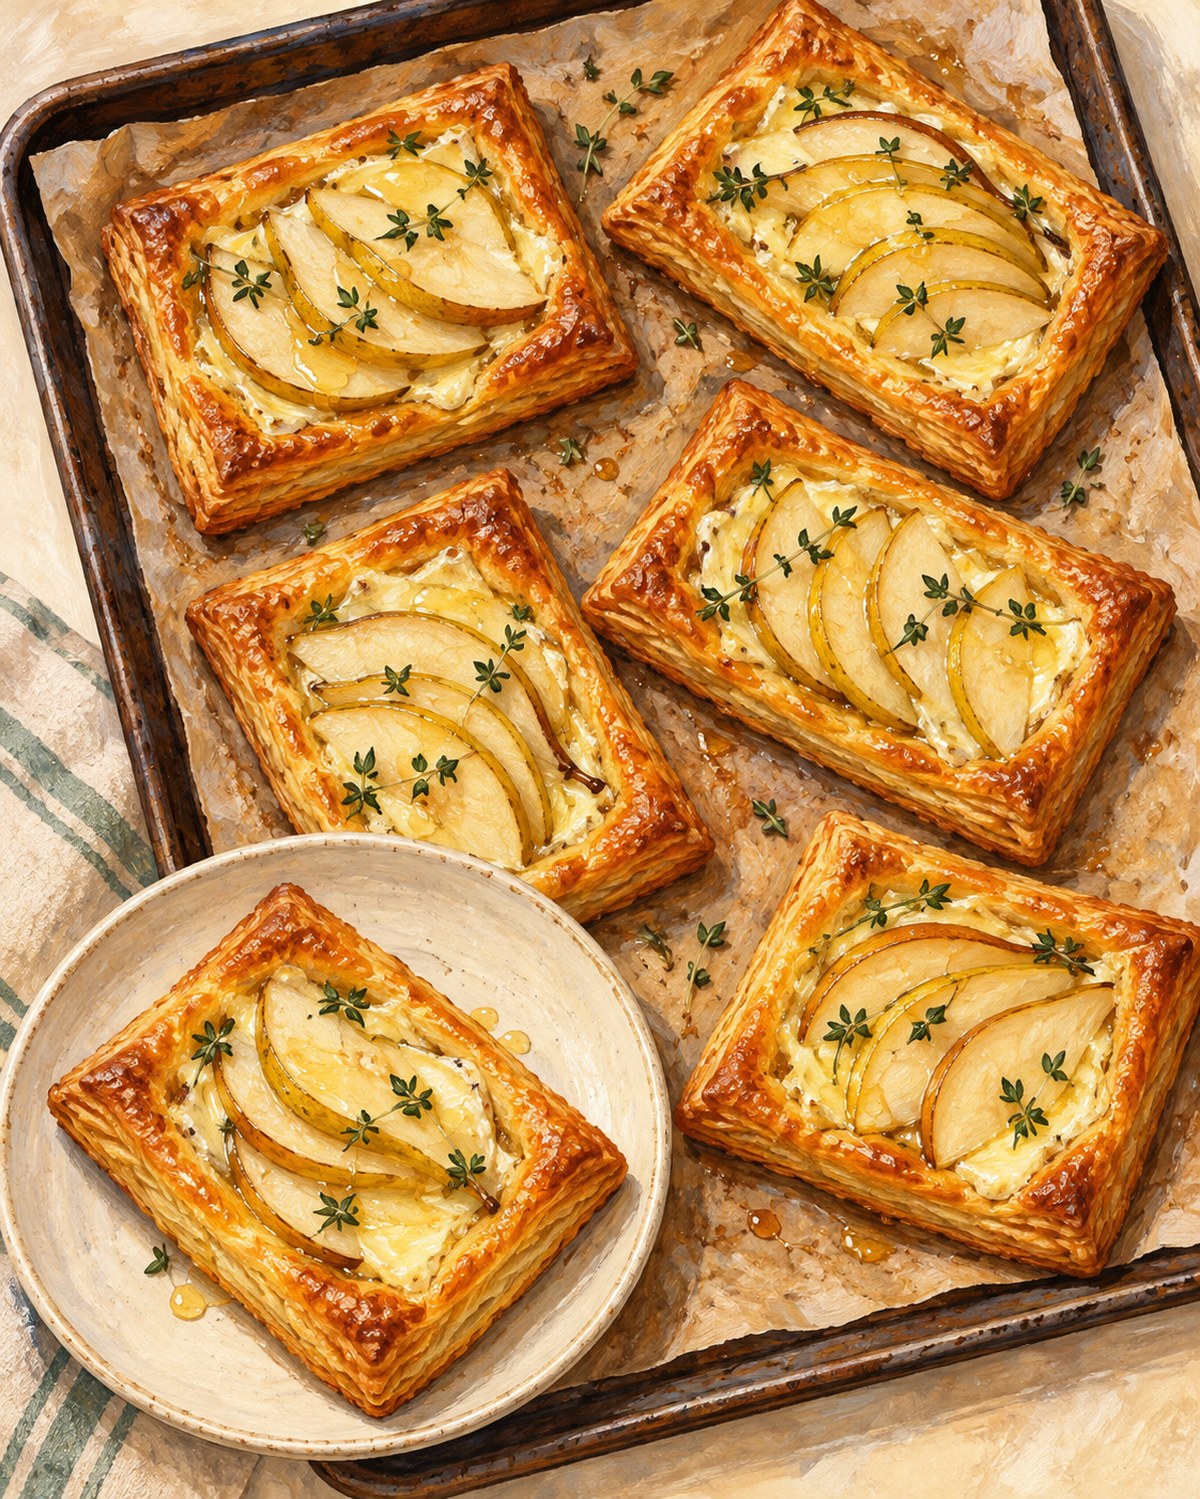
Score a border without cutting through
A shallow line around each square gives the outer pastry permission to rise while the filled center stays flatter. Use the tip of a sharp knife and a light touch. Prick only the central area with a fork, then arrange the cheese and pear inside it. Chilled pastry holds its layers better than warm pastry, so return the tray to the refrigerator if assembly leaves it noticeably soft.
Keep the fruit layer thin
Two or three overlapping slices provide enough pear for each square without trapping a wet pocket underneath. A firm pear also sheds less juice than an overripe one. The Brie rind is edible and helps the small slices keep their shape, though you may trim it if you prefer. Let the squares settle for five minutes after baking so the cheese is warm rather than molten. The thyme is a small aromatic accent, not a heavy herbal topping.
Bring them to the table in a loose layer
A large platter protects the pastry better than a high stack, which traps steam and compresses the raised edges. Arrange the squares with a little breathing room and serve within the first half hour when possible. Their small size makes them easy to share before a meal, but two portions with a green salad also make a useful light lunch. The filling needs no extra jam or nuts; the pear, Brie, and honey already give the pastry a clear flavor.
Ingredients
- 1 sheet all-butter puff pastry, about 14 ounces (400 g), thawed but cold
- 6 ounces Brie, chilled and thinly sliced (170 g)
- 2 small firm ripe pears, cored and thinly sliced (about 300 g prepared)
- 1 large egg beaten with 1 tablespoon water
- 1 teaspoon fresh thyme leaves
- 2 teaspoons honey
- A little all-purpose flour for rolling
Set out
Large rimmed baking sheet, Rolling pin, Sharp knife, Pastry brush, Fork
Allergens
Wheat, milk, egg. Check ingredient labels and substitutions.
Make it
- Heat the oven to 400°F/200°C. Line a large baking sheet with parchment.
- On a lightly floured surface, roll the pastry to a 12-inch square. Cut into twelve 3-by-4-inch rectangles and set on the tray with space between them.
- Lightly score a 1/3-inch border inside each rectangle without cutting all the way through. Prick the center a few times with a fork.
- Divide the Brie among the centers and overlap a few thin pear slices on each. Keep the scored borders clear. Brush the borders lightly with beaten egg and scatter the thyme over the pears.
- Bake for 18–22 minutes, until the pastry borders are puffed and deep golden and the bases are crisp. Rotate the tray if the oven browns unevenly.
- Warm the honey briefly until fluid and brush or drizzle a little over each square. Cool for 5 minutes before serving. Discard leftover egg wash.
A useful detail
A 12-inch square cuts into 12 rectangles measuring 3 by 4 inches; the finished portions are often called pastry squares despite that slight rectangle shape.
Make it your own
- Use Camembert instead of Brie.
- Replace the pears with very thinly sliced firm sweet apples; bake until the fruit is tender and the pastry is crisp.
Keep it well
Refrigerate within 2 hours, or 1 hour above 90°F/32°C, at 40°F/4°C or colder for up to 3 days. Reheat on a tray in a 350°F/175°C oven until 165°F/74°C inside. Honey is unsuitable for children younger than 12 months; check pastry labels for soy if relevant.